Spring Cleaning with RotoScrub®

rotoscrub blog post.png

Let’s talk spring cleaning! I don’t know about you, but I actually really enjoy that deep cleaning that I never have time to do during the year. Whether it’s doing a big purge of the kids clothes and toys, or baseboards and blinds (yuck), it feels SO good once it’s all done. However, I’m not the biggest fan of the deep scrubbing that comes along with some of that spring cleaning. You know what I’m talking about — those surfaces that require extra scrubbing and muscle work to get them clean and shiny.

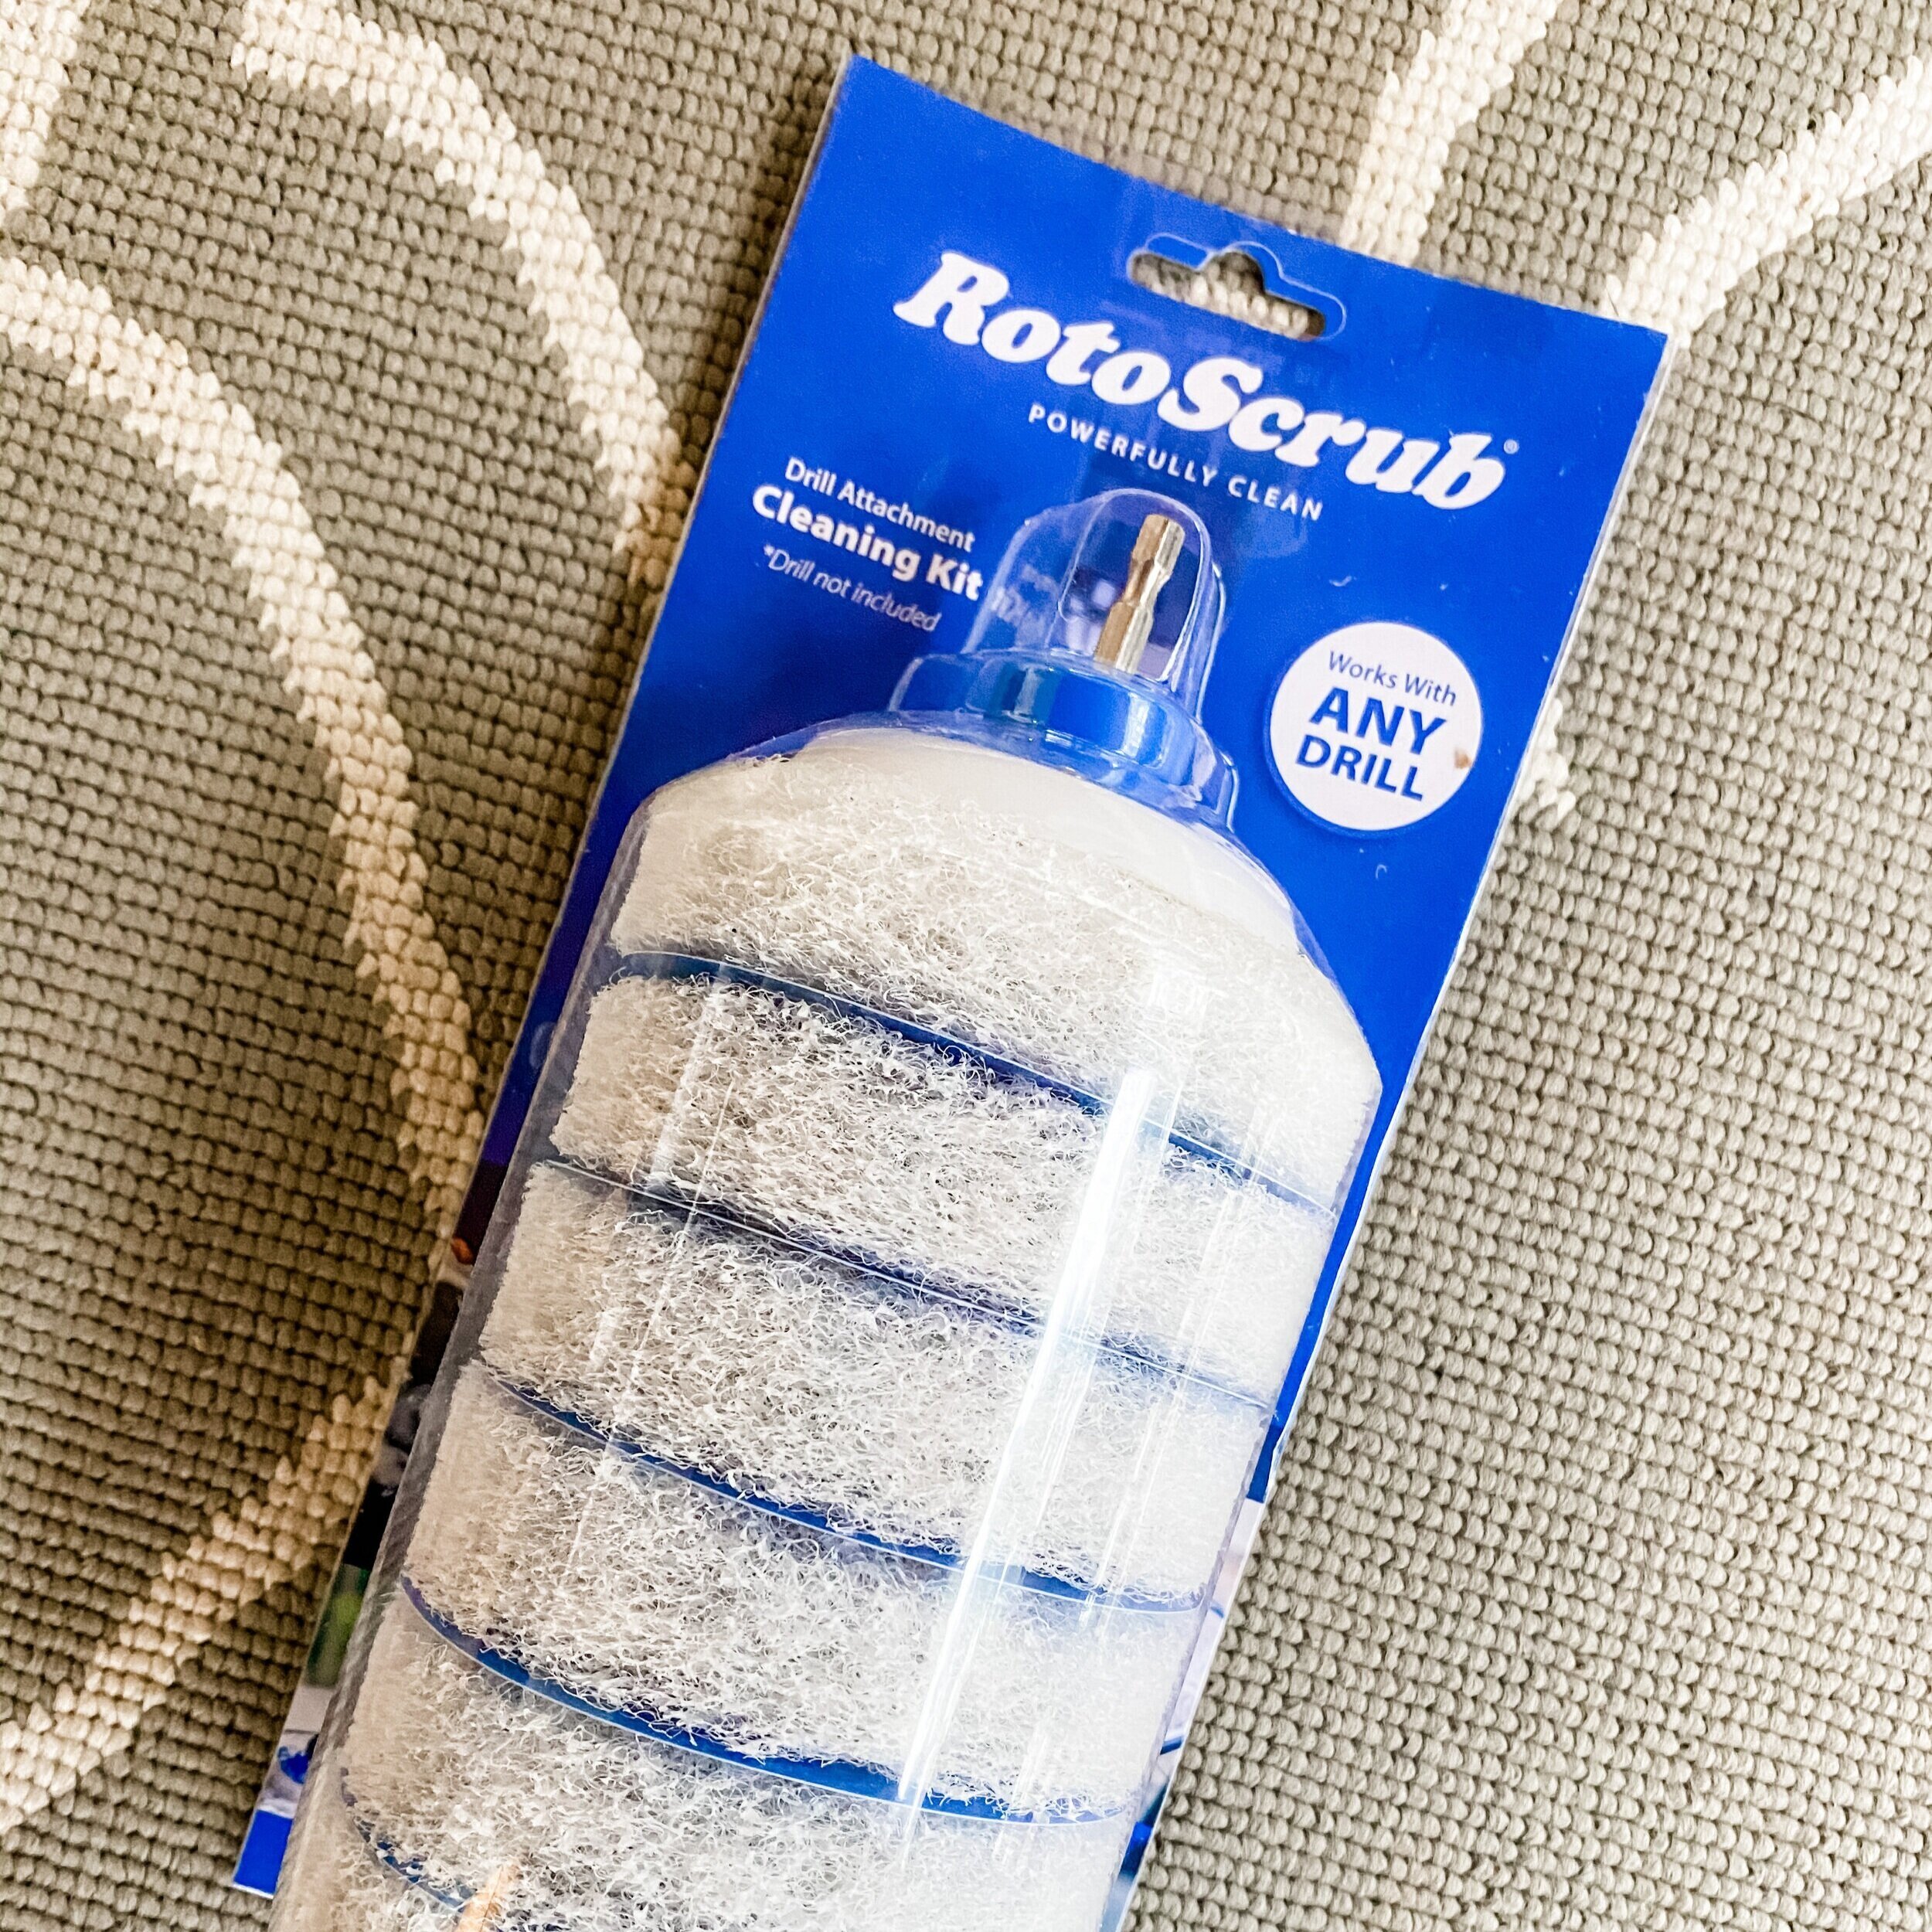
Luckily, I partnered with RotoScrub® to try out their Scrubbing Pads and they were a LIFESAVER! Let’s talk about how they work:

All you need is a power drill. That’s it! They easily attached to your drill (ANY drill!!) and the rest is history! These Scrubbing Pads work on SO many different surfaces and are so perfect for kickstarting your deep scrubbing spring cleaning list! Best part is, these pads do all the work for you! No elbow grease required :-P

rotoscrub.JPG

I have to admit, I was so nervous that the Scrubbing Pad would scratch the surface of my BBQ (that was the first thing I tested), but to my surprise, it didn’t! It not only acted as a scrubber, but as a buffer as well! No scratches — just clean and SHINY!

These Scrubbing Pads are ideal for anything indoor and outdoor! I made a list below of some quick idea’s for where to use these pads:

  • Car Tires

  • Mailboxes

  • Hot Tubs / Spas / Pools

  • Decks / Porches

  • BBQ’s / Grills

  • Sinks / Showers

These Scrubbing Pads can be purchased directly from RotoScrub®, or you can skip the shipping and head over to your local Lowe’s Home Improvement! They sell them for under $15!! Super affordable right? I’m linking them HERE for you.

Ready to see some amazing before & after pictures?? You guys, this product is so amazing and SO fun to use!!

Be sure to check out my Instagram post with this product, featuring a video I put together of this product in action! Happy scrubbing!

 
bbq before.JPG

BEFORE

mailbox before.JPG

BEFORE

tire before.JPG

BEFORE

bbq after.JPG

AFTER

mailbox after.JPG

AFTER

tire after.JPG

AFTER

 
xoxo jenn new new.jpg

JENN'S FAVORITE PICKS! TOOLS & SUPPLIES EDITION

I have been asked so many times what my favorite DIY tools are — so I decided to make one big blog post with a listing of everything I use. From tools, to supplies, to paint and brushes. — let’s drill down all my favorites! I’ll also continue to add to this post as I find new products and tools that I’m excited to share.

Disclaimer: Many of my posts may contact affiliate links. If you click on a link and purchase a product, I may receive a small commission (at no additional cost to you). I truly appreciate your support

xoxo jenn new new.jpg
me2.jpg
 

DIY MODERN BARN DOOR

I fell victim to the Barn Door craze. But I didn’t want a traditional “barn door” — I wanted something a little bit more modern, especially since it was what I was really going for in our bedroom. I had already given our room those “modern vibes” with the accent wall and modern bed bench — so it only seemed right that the barn door would match.

I drew in inspiration from my friends over at Plank & Pillow because their barn door was a total scroll stopper for me — and I knew I wanted something similar. I followed their plans, so if you’re interested, they can be found HERE. But let’s get started with how I built mine.

WHAT YOU’LL NEED:

  • Primed MDF Board

  • Pre-primed MDF 1x4

  • Pre-primed MDF 1x2 (or 1x3 - whatever size you prefer)

  • Caulk

  • Wood Filler

  • Sanding Block/Electric Sander

  • Paint Brush

  • Paint of choice

  • Brad Nailer

  • 1 1/4” Nails

  • Liquid Nails or Wood Glue

  • Clamps

barn door hung.jpg

THE PROCESS:

  1. Start by cutting your MDF down to the preferred size, Rule of thumb — you want about 1 inch overage on each side of the door frame (sides and top). For my barn door, my measurements were 38”W x 84”H. Helpful Tip: Lowe’s and Home Depot will cut wood for you if you don’t have a table saw or circular saw at home. Tell them your measurements and they’ll cut for free!

  2. Next cut your pre-primed MDF 1x4’s to match the length of your MDF Board (in this case 84”). The boards going across will be about 32” give or take (always double check your measurements!)

  3. Use some liquid nails on the back of each of your boards. This will really help ensure that they’re not going anywhere. Use some clamps to help them adhere. I use these ones from Amazon.

  4. Once you have glued everything down, now it’s time to really secure those boards by nailing them in. I used my brad nailer and 1 1/4” nails for this process.

  5. Next you’ll want to use wood filler to fill each and every hold you just made with those nails ;-) Once that dries (about 5-10 minutes), take your sanding block and sand down the wood filler until its flush with the wood.

barn+door4.jpg
barn door1.jpg

6. Ok, this is where the tricky part comes — all the angle cuts. I’ll be honest — it took me a few attempts, so be sure to have some scrap pieces on hand to practice with. I’m sure there’s an easier way, but I’m not a math person, so I literally laid the 1x2’s down on top of the board in the position/angle I wanted and then used a ruler to mark where to cut. I also drew a line down and across the center of the board to help me with where the middle of the board was.

7. Once you have made your angle cuts, use some liquid nails or wood glue to glue down the boards. I used clamps to ensure that they stuck better. Then you’ll want to go around and fully secure with your brad nail gun.

8. Next you’ll need to go around to each nail hole and wood spaces and fill with wood filler. After this process, go around and caulk all edges as well (even the insides of the angle cuts). After all of this dries, sand everything down for a smooth finish.

9. Final step! Paint! I used an angle brush to help me get in the tight corners and then a nap roller brush to paint the rest!

 
barn door3.jpg
barn door6.jpg

Hanging the Door & The Hardware

I will not sugar coat this, hanging the barn door was NOT easy. You will definitely need two people to do this. For one, the bard door is extremely heavy — and two, the hardware to hang the door is heavy too. So two sets of hands will be helpful for this part of the project. I got the hardware from Amazon, which can be found HERE. The directions were easy to follow and it came with everything you need. I liked that this hardware comes with the option to hang in a concrete wall, or a normal drywall with studs. It’s also extremely affordable.

When hanging the door, you’ll need a separate 1x3 or 1x4 to install above your door frame. Paint it whatever desired color you’d like — but this is what you’ll physically use to install the hardware. This board will provide the extra space “pop” for the door so it doesn’t “hit” or glide on the door frame.

The handle itself is also an Amazon find. It was only about $20 and looks incredibly sleek and modern. I love the it comes with a “pocket handle” for the back of the door. This was also easy to install and really completed the door. This product can be found HERE.

That’s it friends! I hope this was helpful! If you have any additional questions, drop that below in the comment section. You can also follow the video tutorials on my Instagram page, under the highlight “DIY Barn Door”.

xoxo jenn new new.jpg

DIY HEADBOARD

If you’re like me, searching for an inexpensive, but cute headboard was difficult and time consuming. So I thought, why not just make one? I searched for different tutorials on creating the perfect one, but I ultimately landed on inspiration from my “Insta-friend” Lindsay over at Frills and Drills. While I didn’t follow her tutorial verbatim, I did use it as inspo. (But, her tutorial is amazing — so be sure to head to her blog to check it out).

Because both the kids’ bed didn’t have a headboard, I would be building two — one painted white to match Olivia’s room, and the other stained dark wood to match Jordan’s room. They were incredibly easy to build — I promise even the most novice DIY’er can build this. It took about an hour to build one — the longest part was the typical, waiting for the paint to dry.

WHAT YOU’LL NEED:

  • Wood screws

  • Caulk & Wood Filler

  • Paint or Stain of your choice

  • Nail Gun (or Hammer and Nails)

  • Drill and 1” wood screws

  • Painting supplies

  • Sanding block

  • Lumber**

    • 1 x 6 for the slats

    • 1 x 3 for the legs

    • 1 x 2 for the top

**This headboard is made to size for a full size bed. You will need to adjust cuts for the size of the bed you’re making your headboard for.


THE PROCESS:

  1. To start the process, cut your 1x3 pieces to size according to the appropriate height you want. Next, measure the width of your bed, and that will be the length of your 1x6’s

  2. Lay your 1x3’s down on the ground and start laying your 1x6 boards on top of the 1x3’s going across. (see image to the right) This will be the BACK of your headboard so the nail holes are not in the front.

  3. For this next step, you can either use your nail gun and 1 1/4” brad nails OR you can use a a drill and wood screws. I didn’t have 1 1/4” brad nails at the time, so I used a drill and wood screws, I pre-drilled by using a drill bit. Screw or nail in the 1x6 boards to the 1x3 so its nice and flush.

headboard1.JPG

4. Next, flip/turn over the headboard — this will be the front.

5. This is where you will add the top pieces (1x2). I added two on top of each other, but you can create whatever look you want!

6. Be sure to sand everything down, fill holes with wood filler, and caulk the seams.

7. Next use a paint or stain of your choice to complete the project! You might need 2-3 coast depending on the level of color or stain you want.

8. Assemble to your bed frame with bolts/screws and you’re done!

Here is the finished product of both headboards. Olivia’s headboard is painted in “Bohemian Lace” by Valspar Paint. Jordan’s headboard is stained in “Dark Walnut” by Minwax.

olivias room after.JPG
jordan room after.JPG
xoxo jenn new new.jpg

DIY SPONGE WALL ART

In my search for ideas on refreshing the kids’ rooms, I kept seeing this sponge wall art all over social media and Pinterest. It looked so easy and completely transformed rooms — so I figured, why not give this a shot and create a fun accent wall?

sponge wall2.jpg

I did two different designs to match their room themes — and the best part…? This project was 100% FREE! All you need is leftover paint, a kitchen sponge, and about 30 minutes of your time.

WHAT YOU’LL NEED:

  • Paint

    • Olivia’s pattern is painted in “Bohemian Lace” by Valspar Paint

    • Jordan’s pattern is painted in “Restorative” by Valspar Paint

  • Kitchen Sponge

  • Paper plate (to pour paint on)

Depending on the size of the wall, you really don’t need that much paint. A little goes a long way with this project. Also, you can cut the sponge to create different shapes. For the two designs I did, I only needed the edges of the sponge. TIP: when you dip the sponge in the paint, be sure to “dab” the sponge a few times on a clean part of the plate to get rid of any excess paint. You don’t want too much paint on the sponge as it will create a “drip effect” — and that can mess things up quickly.

Once you start your design on the wall, it tends to move quickly. This DIY is a good one because it doesn’t have to be perfect! We’ll call it “perfectly imperfect”. I messed up a few times, but to the naked eye, you can’t even tell. It’s definitely an EASY and QUICK project that will completely transform a room! Happy painting friends!

DIY Headboards can be found HERE.

Olivia’s Room BEFORE

Olivia’s Room BEFORE

Olivia’s Room AFTER

Olivia’s Room AFTER

Jordan’s Room BEFORE

Jordan’s Room BEFORE

Jordan’s Room AFTER

Jordan’s Room AFTER

xoxo jenn new new.jpg

KITCHEN UPDATES ON A BUDGET

The progress of this kitchen has been so much fun to watch. I remember when we were looking for houses here in North Carolina, I was ignoring any and all houses with brown cabinets (I’m an all white kitchen kind of girl). So it’s funny that the house we ultimately chose had brown kitchen cabinets — but I knew right away that we would transform it into the kitchen of my dreams. Before we moved in, we had the entire interior of our home painted by a company, including the kitchen cabinets. They did a FANTASTIC job, and really got me started to make small and budget friendly changes — but producing a HUGE impact (that’s what were going for here, right?!)

Kitchen status on closing day…pre-paint.

Kitchen status on closing day…pre-paint.

kitchen before 2.jpg
Kitchen status on move-in day…post paint

Kitchen status on move-in day…post paint

kitchen painted 2.jpg

Our kitchen has a faux brick back splash that desperately needed to be painted white. And I had some really outdated knobs on the cabinets that I couldn’t wait to switch out to something more modern. I had some leftover paint from when I painted the Mudroom and Bathroom Board & Batten — and it ended up getting me through the first coat of paint. The back splash required two coats of paint — purchased at Home Depot. I used this BEHR Premium Plus Paint & Primer In One and it turned out amazing! It’s not too shiny and I’m able to wipe it down just fine. Be sure to use painters tape to tape off the bottom where the counter and wall meets - and for a straight line finish, use caulk along the bottom to get that look (you’ll thank me later).

I switched out those old knobs with some modern (and very inexpensive) handles purchased from Amazon — which can be found HERE. A box of 25 was only $26! Such an amazing deal! For my kitchen, I had to purchase two boxes … and it was totally worth it. Below is a current picture of the kitchen, and I’m SO in love with how it turned out. Later down the road we have a few more things we want to do: Install farmhouse sink, buy a new range top and install new quartz counter tops. Hopefully by the end of the year, we’ll be able to do those. For now, I’ll relish in my semi-DIY kitchen.

Kitchen Status…CURRENT

Kitchen Status…CURRENT

kitchen now 2.JPG
xoxo jenn new new.jpg

THE TAYLOR FARMHOUSE —HOW IT ALL GOT STARTED

Wow, where do I even begin? I guess I’ll start with hello, and welcome to The Taylor Farmhouse. This blog has been A LONG time coming – a project that I’ve been working on for over a year. I had every intention of getting this up and running quite some time ago, but then life happens and things like this have to take a back seat. But I’m so happy to finally introduce you to my newest adventure.

See my first Instagram post as The Taylor Farmhouse HERE!

See my first Instagram post as The Taylor Farmhouse HERE!

I’m not new to blogging, but it has been a very long time - and I have been craving this space that I can call my own. Writing is where I’m most comfortable. I love it. I thrive behind the keyboard, expressing my thoughts, stories, showing off projects and giving advice to anyone who will (or wants) to listen.

The Taylor Farmhouse came to fruition in July 2017. I started posting pictures of my home to my personal Instagram account and thought “I bet my friends don’t care about seeing pictures of my home” and figured creating a second account strictly for home decor might be fun. I had NO idea that there was an entire community that surround this passion of mine - and I quickly felt at home. Believe it or not, my “same name” Instagram handle did not come easy to me. I knew that I needed it to be something that I would love forever - something that would (hopefully) eventually become a brand and household name. Once I thought of it, it clicked and I thought for sure that this handle would be taken already. To my surprise, it wasn’t. And with a few years under my belt as The Taylor Farmhouse, my random idea became something bigger than I ever imagined. It was only a matter of time that I knew a blog would come into the picture. . .

So here we are, and I thank YOU for the support and for following along with me as I continue on with this fun blog adventure! I can’t promise that this will be a daily thing - and I can’t promise that it will be a weekly thing - but hey, I’ll post and update when I can. Until next time…


xoxo jenn new new.jpg