
In my search for ideas on refreshing the kids’ rooms, I kept seeing this sponge wall art all over social media and Pinterest. It looked so easy and completely transformed rooms — so I figured, why not give this a shot and create a fun accent wall?

I did two different designs to match their room themes — and the best part…? This project was 100% FREE! All you need is leftover paint, a kitchen sponge, and about 30 minutes of your time.
WHAT YOU’LL NEED:
Paint
Olivia’s pattern is painted in “Bohemian Lace” by Valspar Paint
Jordan’s pattern is painted in “Restorative” by Valspar Paint
Kitchen Sponge
Paper plate (to pour paint on)
Depending on the size of the wall, you really don’t need that much paint. A little goes a long way with this project. Also, you can cut the sponge to create different shapes. For the two designs I did, I only needed the edges of the sponge. TIP: when you dip the sponge in the paint, be sure to “dab” the sponge a few times on a clean part of the plate to get rid of any excess paint. You don’t want too much paint on the sponge as it will create a “drip effect” — and that can mess things up quickly.
Once you start your design on the wall, it tends to move quickly. This DIY is a good one because it doesn’t have to be perfect! We’ll call it “perfectly imperfect”. I messed up a few times, but to the naked eye, you can’t even tell. It’s definitely an EASY and QUICK project that will completely transform a room! Happy painting friends!
DIY Headboards can be found HERE.
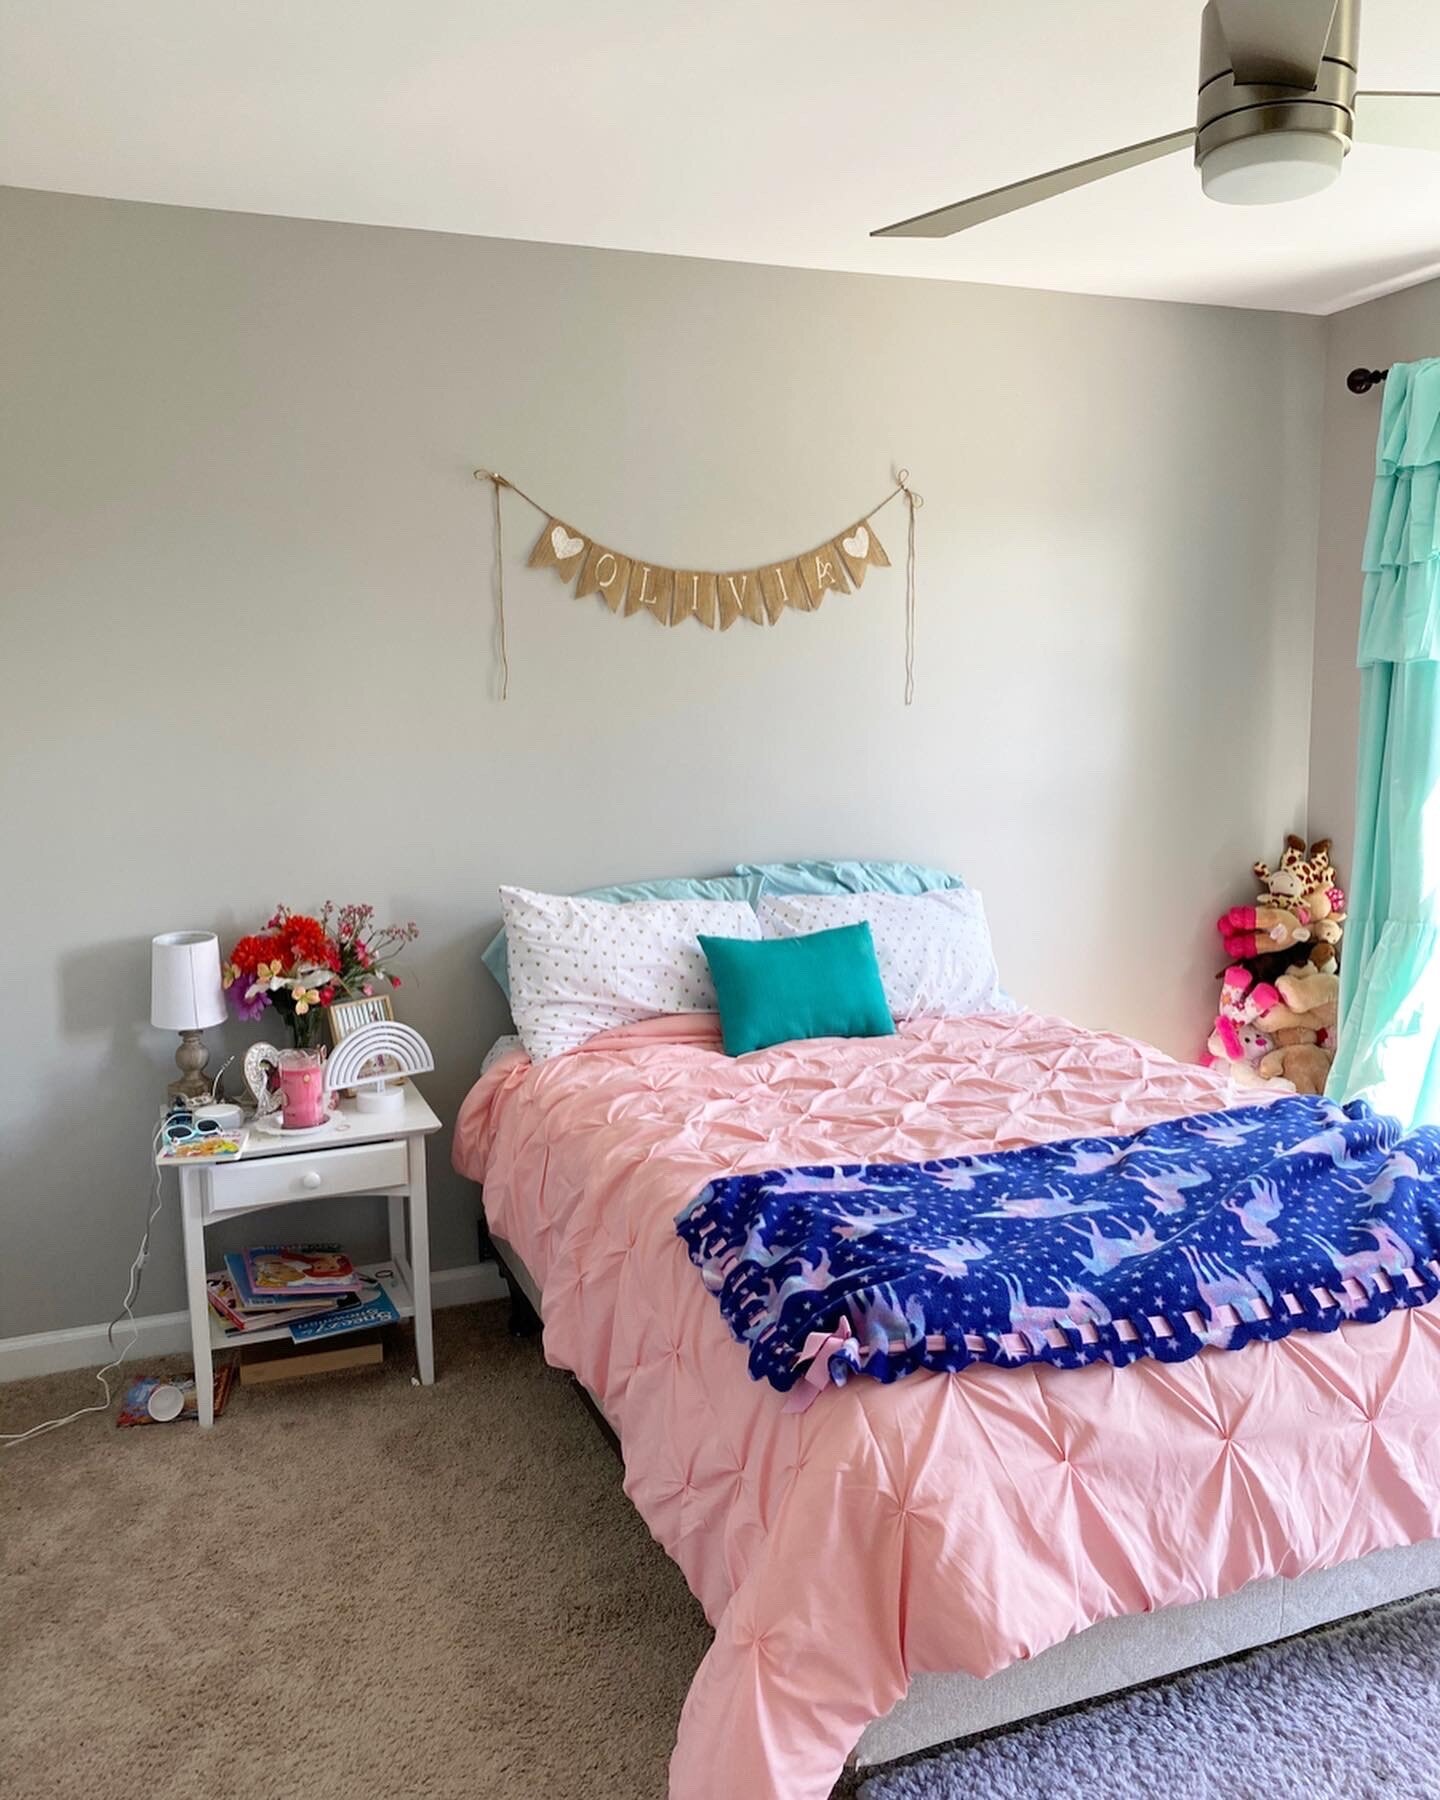
Olivia’s Room BEFORE

Olivia’s Room AFTER

Jordan’s Room BEFORE

Jordan’s Room AFTER
